Sunday 20 April 2014

Job Scheduling in SQL SERVER

JOB SCHEDULING

Step 1:  Go to SQL Server Agent-->Click on jobs-->NEW JOB

Step 2: Provide the name and Database owner
At the description you can write like it could give brief introduction about the job
Step 3: Select the steps-->Click on new
Step 4: Provide the step name
Type is a T-SQL (from drop down list you can choose different types)
Database is your database Name
Write the command what we have to schedule daily
(My self here i am taking the backup of one of my data bases) Click OK
Below snapshot show after the Step finished
Step 5: For scheduling click NEW
Step 6: Give the suitable name
Schedule type, Here from the drop down we have different types, According to type of schedule select one

Click OK
Find your JOB name here(If job created successfully)
In the error logs you can find the summery of your job

Saturday 19 April 2014

Detach and Attach in SQL SERVER

Detach and Attach

Step 1: Attach and Detach database
Before proceeding need to know what is attach and detach!
While we took backup of a database, the .bak file saved in drive and also exists in server
when ever use a detach option this will takes backup of database and drops the database from server
While attach like a restore of a database which already backedup.

The following are the steps how we can attach and detach the database
Step 2: Click on database -->Tasks-->Detach
If you found following error, Set your database to Single User mode using SET operator
Now choose drop connections then click OK

Also the following is the SP also how to set database into single user mode
Attach:
Click on database-->Attach
Choose database which you want to restore
click ok
The database came to previous position

SQL SERVER 2014 Installation

SQL SERVER 2014 Installation

Step 1: Click on your set up file 
Step 2: Click on installation then select first one ( New SQL Server standard-alone installation or .... )
Step 3: Specify a free edition (it could be free for 180 days)
If you have a product key then choose enter product key
Step 4: Check the BOX accept the licence terms then click next
Step 5: After finished the Updates Checking click next

Step 6:If no errors you can click next
Step 7: Choose one from the following based on which type you need. All about headings given the features in description
Step 8: Select instance features and/or Shared features according to your work requirement click next
Step 9: Give the instance name may be default or Named
Step 10:  Choose the Service account Name and startup Type
Step 11: Server  configuration -->Authentication Mode
Here Mixed mode we can keep security for log-in. Windows authentication Mode required no security but another must--> Specify SQL Server administrator -->NEXT


and this is for Analysis Services
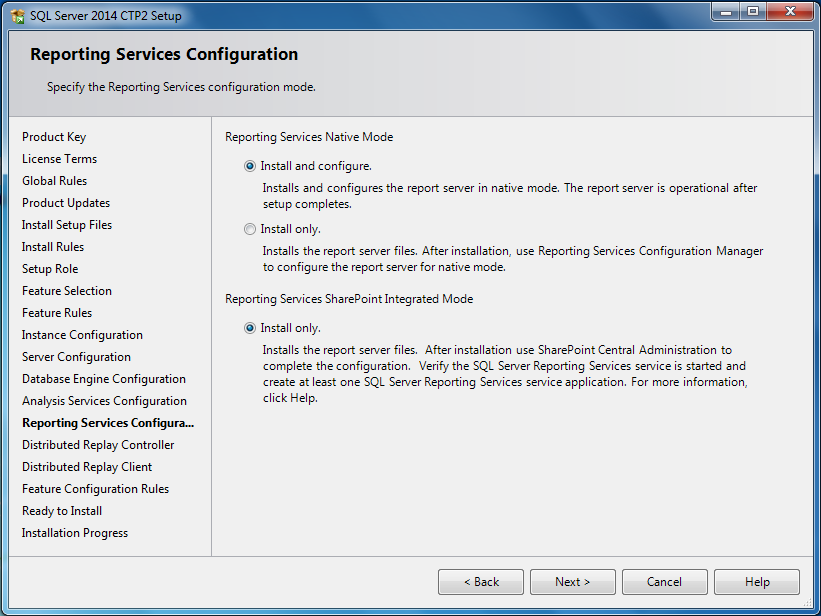
Step 12: This is about the reporting services choose install only or install and configure


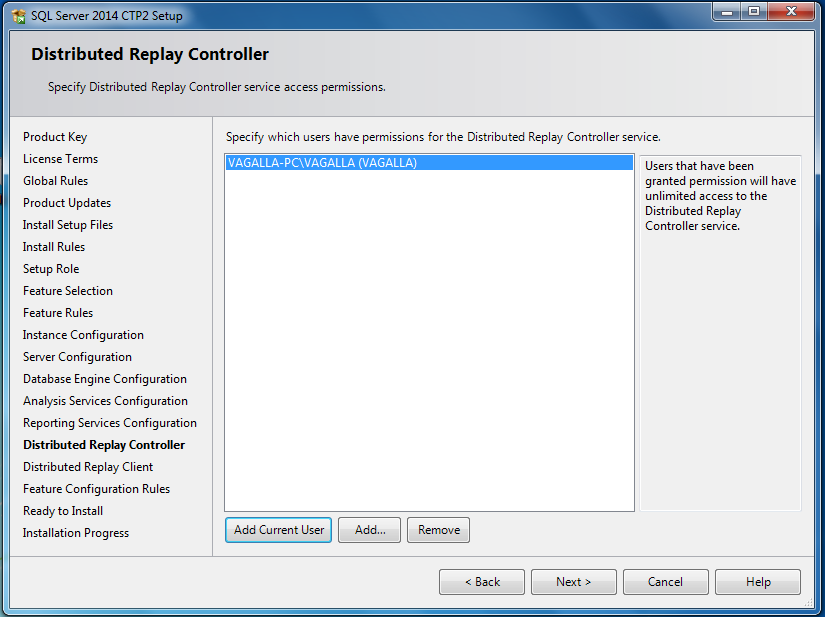
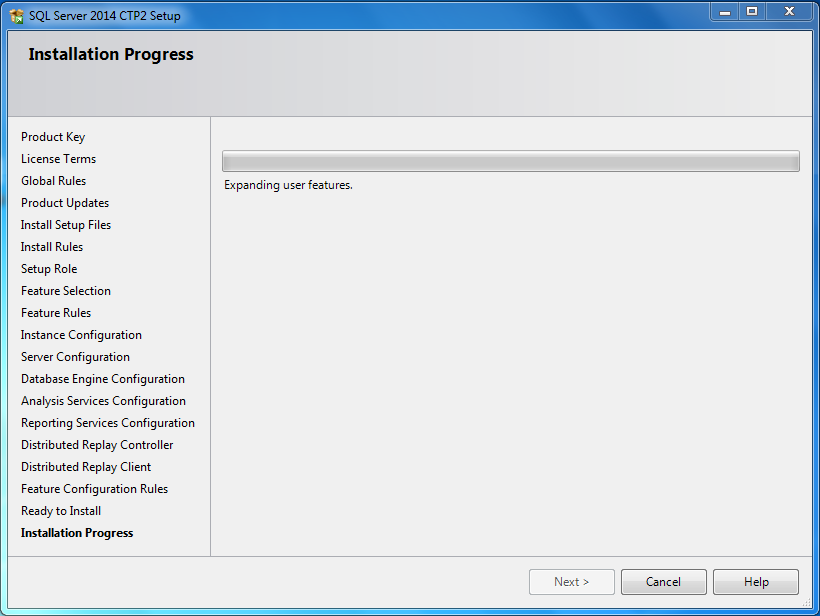
This could be the final step

EMP, DEPT Sample script

/****** Object:  Table [dbo].[DEPT]    Script Date: 19-05-2016 06:58:37 ******/ SET ANSI_NULLS ON GO SET QUOTED_IDENTIFIER ON GO SET A...